If you’ve ever bought a beautiful new houseplant only to watch it slowly turn yellow and sad, you are not alone. I used to think I had a “black thumb” after tragically losing a fiddle leaf fig that I loved. The plant seemed happy for the first month, then started dropping leaves one by one until it became a sad stick in expensive soil.
After years of trial and error (and way too many plant funerals), I’ve learned that most houseplant deaths aren’t about having bad plant genes—they’re about common, fixable mistakes that nobody talks about. These indoor plant care hacks have transformed me from a serial plant killer into someone who actually keeps plants alive and thriving.
Why Your Houseplants Keep Dying (It’s Probably Not Your Fault!)
Here’s the truth: most plant care advice is confusing, vague, or downright wrong. Terms like “bright, indirect light” and “water when dry” sound helpful but leave you guessing. Meanwhile, plant tags often give conflicting information, and that friend who swears by watering every Sunday probably has completely different conditions than you do.
The real problem isn’t that you’re bad with plants—it’s that you’ve been given incomplete information. Indoor plant care for beginners should be simple and clear, not a guessing game. Once you understand what your plants actually need (and have the right tools to check), everything becomes much easier.
1: The #1 Mistake is Overwatering – Use the “Chopstick Trick”
For years, I followed the “water once a week” rule and constantly dealt with root rot. The game changed when I learned the chopstick trick—it sounds silly, but it’s the most reliable way to know what’s actually happening in the soil.
Here’s how it works: stick a wooden chopstick (or bamboo skewer) about 2 inches into the soil and leave it for a few minutes. Pull it out and look at it like a dipstick. If it comes out with damp soil clinging to it, wait to water. If it comes out mostly clean with just dry soil, it’s time to water.
This simple hack eliminates guesswork and prevents the number one killer of houseplants: overwatering. Most plants need the top inch or two of soil to dry out between waterings, and the chopstick tells you exactly what’s happening down there.
Pro tip: Keep a few chopsticks dedicated to plant care. They cost almost nothing and will save you hundreds of dollars in replacement plants.
2: Stop Guessing About Light – Use Your Phone’s Compas
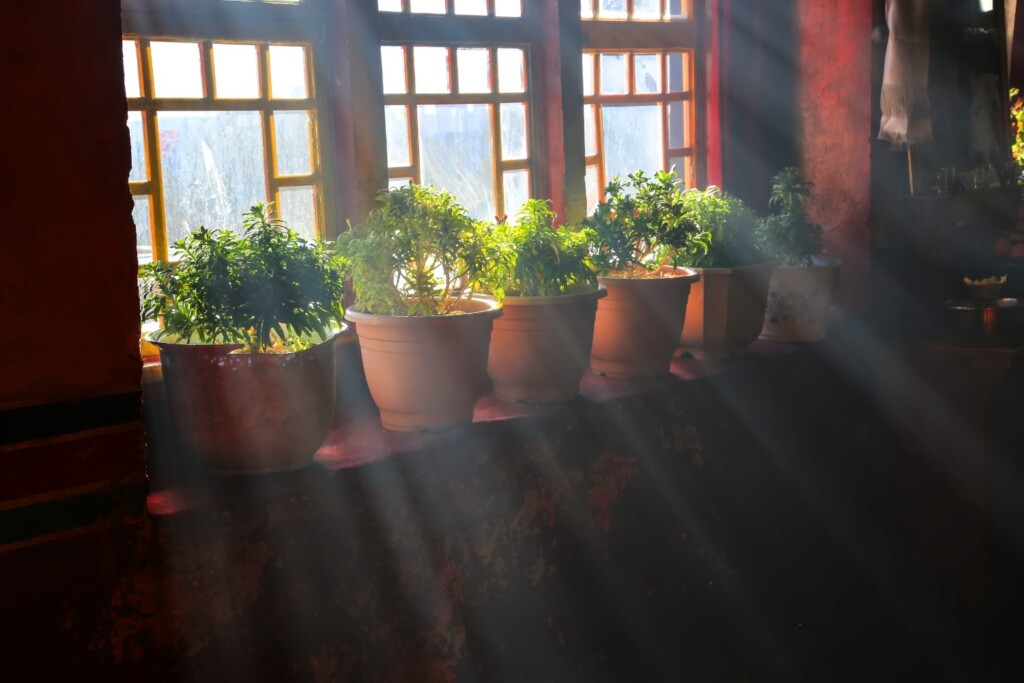
The tag said “bright, indirect light,” which meant absolutely nothing to me. I finally figured it out by using my phone’s compass to see which way my windows faced. An east-facing window became my go-to spot for most of my plants.
Here’s your easy plant care tips lighting cheat sheet:
North-facing windows: Low light, perfect for snake plants and ZZ plants
East-facing windows: Gentle morning sun, ideal for most houseplants
South-facing windows: Brightest light, great for succulents but too intense for most tropical plants
West-facing windows: Strong afternoon sun, can be harsh for sensitive plants
Download a free compass app on your phone and spend five minutes figuring out which direction your windows face. This one simple step will help you match plants to the right spots and prevent the crispy, sunburned leaves that come from too much direct sun.
3: Boost Humidity for Tropical Plants – The “Pebble Tray” Hack
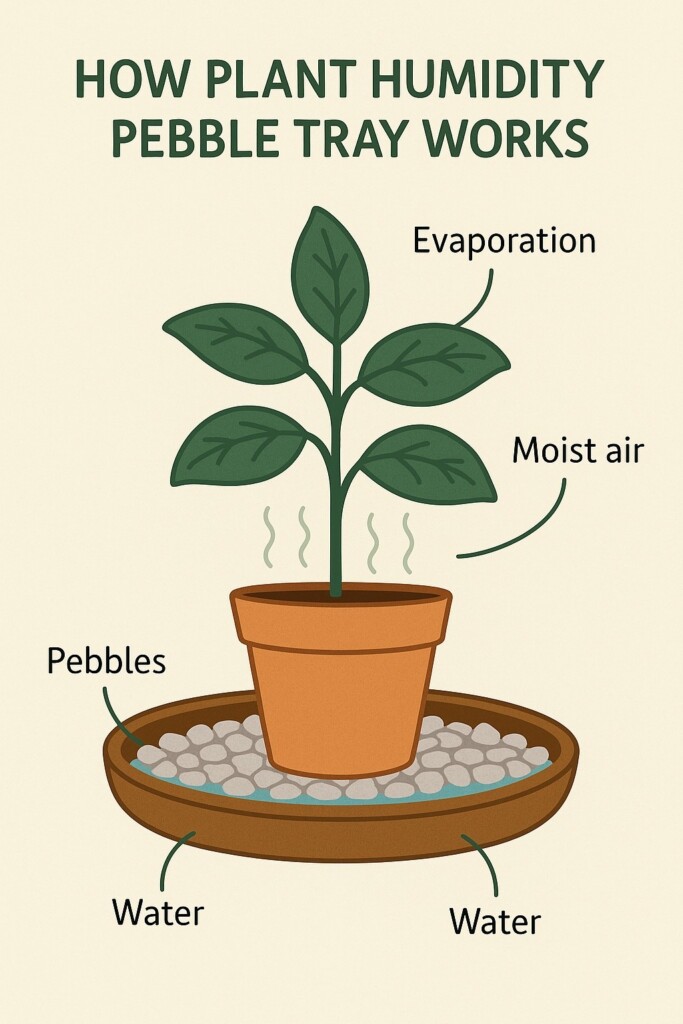
Most houseplants come from tropical environments with much higher humidity than our homes provide, especially during winter when heating systems dry out the air. Low humidity causes brown leaf tips, curling leaves, and makes plants more susceptible to pests.
The pebble tray hack is incredibly simple: fill a shallow dish or tray with small stones or pebbles, add water until it almost covers the stones, then place your plant pot on top. The water evaporates around the plant, creating a more humid microenvironment.
This works especially well for:
- Fiddle leaf figs
- Prayer plants (Marantas)
- Boston ferns
- Peace lilies
Important note: Make sure the bottom of the pot isn’t sitting directly in water, which can lead to root rot. The stones keep the pot elevated above the water line.
4: Feed Your Plants with “Leftover” Water
This hack saves money and reduces waste while giving your plants a gentle nutrient boost. Instead of dumping out water from steaming vegetables or boiling pasta, let it cool completely and use it to water your plants. The water contains dissolved minerals that plants can use.
You can also save water from washing rice (rich in starch that plants love) or use the water from fish tanks when you clean them (full of natural fertilizer from fish waste).
Safety note: Only use plain water—no salt, butter, or seasonings should ever touch your plants. And always let the water cool to room temperature first.
This isn’t a replacement for regular fertilizing, but it’s a great way to give your plants occasional extra nutrients without spending money on expensive supplements.
5: Know When to Repot – Check the Roots
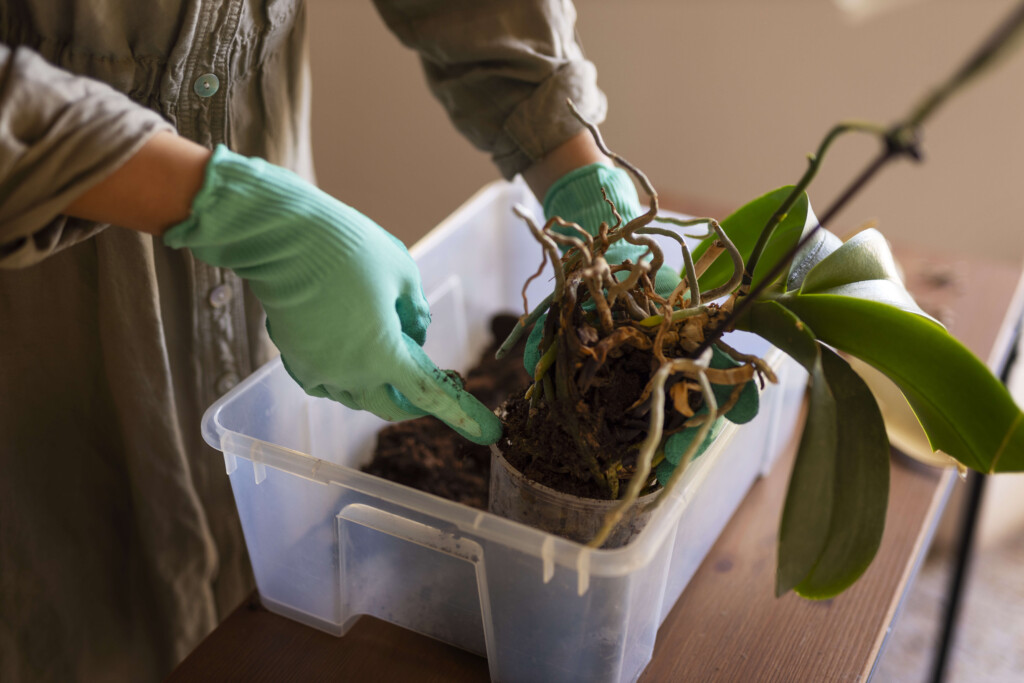
Most people repot based on time (“it’s been a year”) or plant size (“it looks too big for the pot”), but the roots tell the real story. Here’s how to check without disturbing your plant too much:
Gently lift your plant and look at the drainage holes in the bottom of the pot. If you see roots growing out of the holes or circling around the bottom, it’s time to repot. You can also carefully slide the plant partway out of its pot to peek at the root system.
Signs your plant needs repotting:
- Roots growing out of drainage holes
- Water runs straight through without being absorbed
- Plant becomes top-heavy and tips over easily
- Growth has slowed significantly despite good care
When you do repot, only go up one pot size (about 1-2 inches larger in diameter). A pot that’s too big holds too much water and can cause root rot.
6: Fight Fungus Gnats with This Kitchen Staple
Those tiny flying insects around your plants are probably fungus gnats, and they’re incredibly annoying. The good news is you can control them with something you likely already have: apple cider vinegar.
Fill small dishes with apple cider vinegar and add a drop of dish soap to break the surface tension. Place these traps near affected plants. The gnats are attracted to the vinegar smell and get trapped in the liquid.
For the larvae living in the soil, let the top layer of soil dry out more than usual between waterings. Fungus gnat larvae need moist soil to survive, so breaking that cycle helps eliminate them.
Prevention tip: Adding a layer of sand or pebbles on top of your soil makes it harder for gnats to lay eggs and helps soil dry faster at the surface.
7: Clean Dusty Leaves for Better Health
Dusty leaves can’t photosynthesize efficiently, which means your plant can’t make the energy it needs to grow and stay healthy. This is especially important for plants with large, broad leaves like rubber trees and monstera.
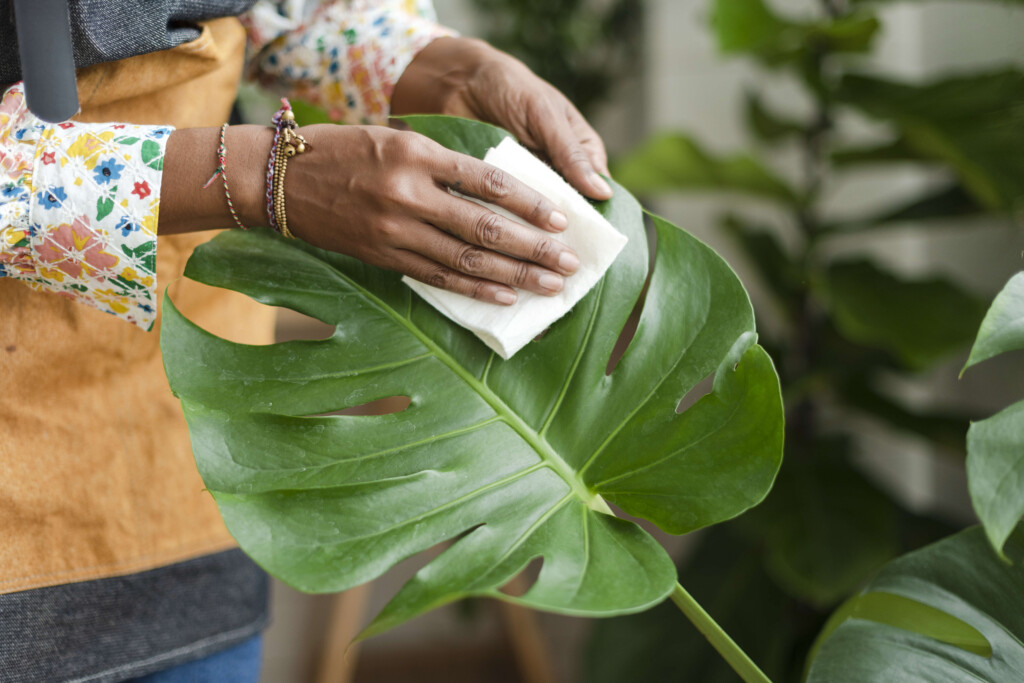
The easiest way to clean leaves is with a damp microfiber cloth or soft cotton cloth. For plants with fuzzy leaves (like African violets), use a soft brush instead of a damp cloth.
Quick cleaning routine:
- Wipe down large-leafed plants monthly
- Support the leaf from underneath while cleaning the top
- Use room-temperature water only
- Let leaves air dry completely
You can also give smaller plants a gentle shower in your bathtub, but make sure to let excess water drain out completely afterward.
A Beginner’s Checklist: How to Save Your Dying Plant
When a plant starts looking sad, work through this checklist systematically. Most plant problems have simple solutions once you identify the real cause.
Step 1: Check soil moisture
- Use the chopstick trick to test soil dampness
- If too wet: stop watering and improve drainage
- If too dry: water thoroughly and check more frequently
Step 2: Examine the leaves
- Yellow leaves at the bottom: usually normal aging
- Yellow leaves all over: often overwatering or poor drainage
- Brown, crispy edges: usually underwatering or low humidity
- Brown, mushy spots: often overwatering or fungal issues
Step 3: Look for pests
- Check under leaves and along stems
- Common signs: tiny webs, sticky honeydew, small insects
- Isolate affected plants immediately
Step 4: Assess lighting conditions
- Pale, stretched growth: needs more light
- Scorched, brown patches: too much direct sun
- Use your phone’s compass to verify window direction
Step 5: Check the roots
- Gently remove plant from pot if necessary
- Healthy roots are white or light-colored and firm
- Black, mushy roots indicate root rot from overwatering
8: The “Lazy” Way to Water Certain Plants
Some plants actually prefer inconsistent watering, which makes them perfect for busy people or frequent travelers. Snake plants, ZZ plants, and most succulents store water in their leaves or roots and can go weeks without watering.
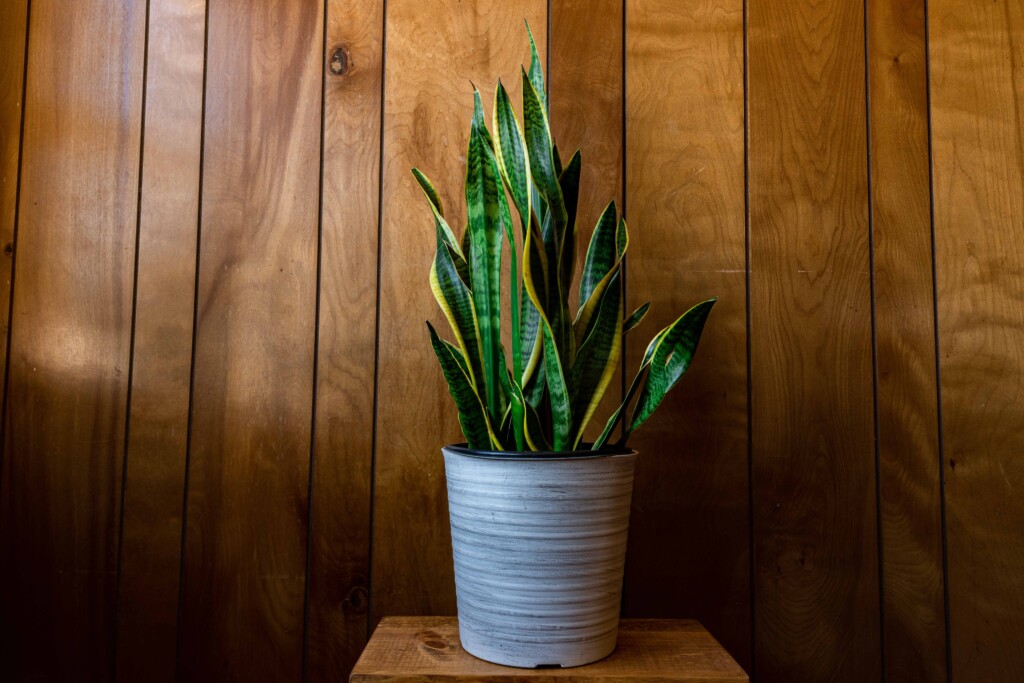
For these drought-tolerant plants, the “lazy” approach works perfectly: water deeply but infrequently. When you do water, give them a thorough drink until water runs out the drainage holes, then ignore them for weeks.
This approach is much better than frequent light watering, which encourages shallow root growth and makes plants less resilient.
Perfect “lazy” plants:
- Snake plants (Sansevieria)
- ZZ plants (Zamioculcas zamiifolia)
- Pothos varieties
- Spider plants
- Most succulents
9: Choose “Unkillable” Plants to Build Confidence
If you’re still building confidence with low-maintenance indoor plants, start with varieties that forgive mistakes and bounce back quickly. These plants tolerate a wide range of conditions and won’t die if you forget to water them occasionally.
Top 5 nearly indestructible houseplants:
- Snake Plant (Sansevieria): Tolerates low light and infrequent watering
- ZZ Plant: Glossy leaves, extremely drought-tolerant
- Pothos: Grows in water or soil, tolerates low light
- Spider Plant: Produces baby plants, very forgiving
- Peace Lily: Droops dramatically when thirsty (built-in water reminder!)
Success with these plants will teach you to read plant signals and build the confidence to try more challenging varieties later.
10: Don’t Be Afraid to Prune
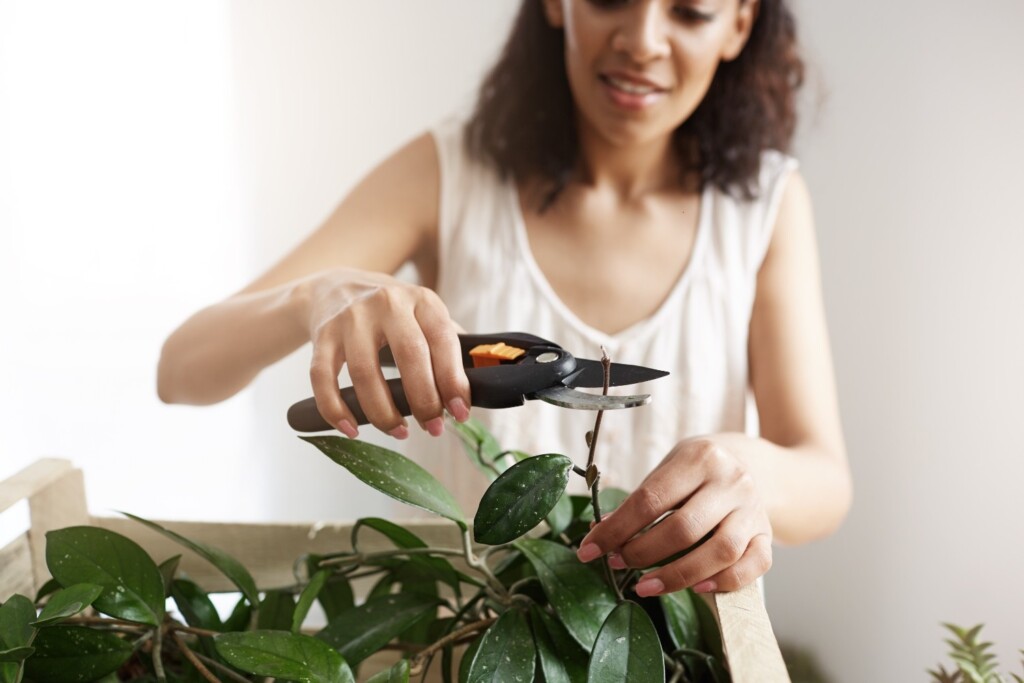
Many people are scared to cut their plants, but pruning is one of the best things you can do for plant health. Removing dead, damaged, or diseased growth helps the plant focus energy on healthy new growth.
Basic pruning rules:
- Always use clean, sharp scissors or pruning shears
- Cut just above a node (where leaves or branches emerge)
- Remove dead or yellowing leaves at the base
- Pinch growing tips to encourage bushier growth
For most houseplants, light pruning can be done year-round, but major pruning is best done in spring when plants are actively growing.
Don’t worry about making mistakes most houseplants are incredibly resilient and will bounce back from overzealous pruning faster than you think.
Conclusion: You Can Do This!
The difference between plant success and failure isn’t having a “green thumb”—it’s having the right information and simple tools to understand what your plants need. These common houseplant problems have simple solutions once you know what to look for.
Start with one or two of these hacks rather than trying to implement everything at once. The chopstick trick alone will probably save half your plants, and learning about light directions will help you place new plants in the right spots from the beginning.
Remember, even experienced plant parents lose plants sometimes. It’s part of the learning process, not a reflection of your abilities. Every plant that doesn’t make it teaches you something valuable for the next one.
How to not kill houseplants really comes down to three main things: proper watering (use the chopstick trick), appropriate light (check your window directions), and choosing forgiving plants while you learn.

